Blog
TL;DR: This article summarizes the installation of a garbage disposal which involves several key steps:
- Safety First: Turn off the power supply to the disposal unit and wear appropriate protective gear.
- Apply Plumber's Putty: Roll plumber's putty into a snake shape and place it under the sink flange to create a seal.
- Attach the Flange: Insert the flange into the sink hole, pressing down to secure the seal.
- Mount the Disposal: Connect the mounting ring with screws and attach the disposal unit to the assembly.
- Connect to the Drain: Link the disposal outlet to the drain pipe and test for leaks by running water.
- Wiring: Connect the necessary electrical wires securely and restore power.
While this overview provides basic guidance, professional installation is recommended to ensure safety and proper functionality. For expert assistance, contact Willowbrook Plumbing & Heating.
Step-by-Step Guide to Install a Garbage Disposal
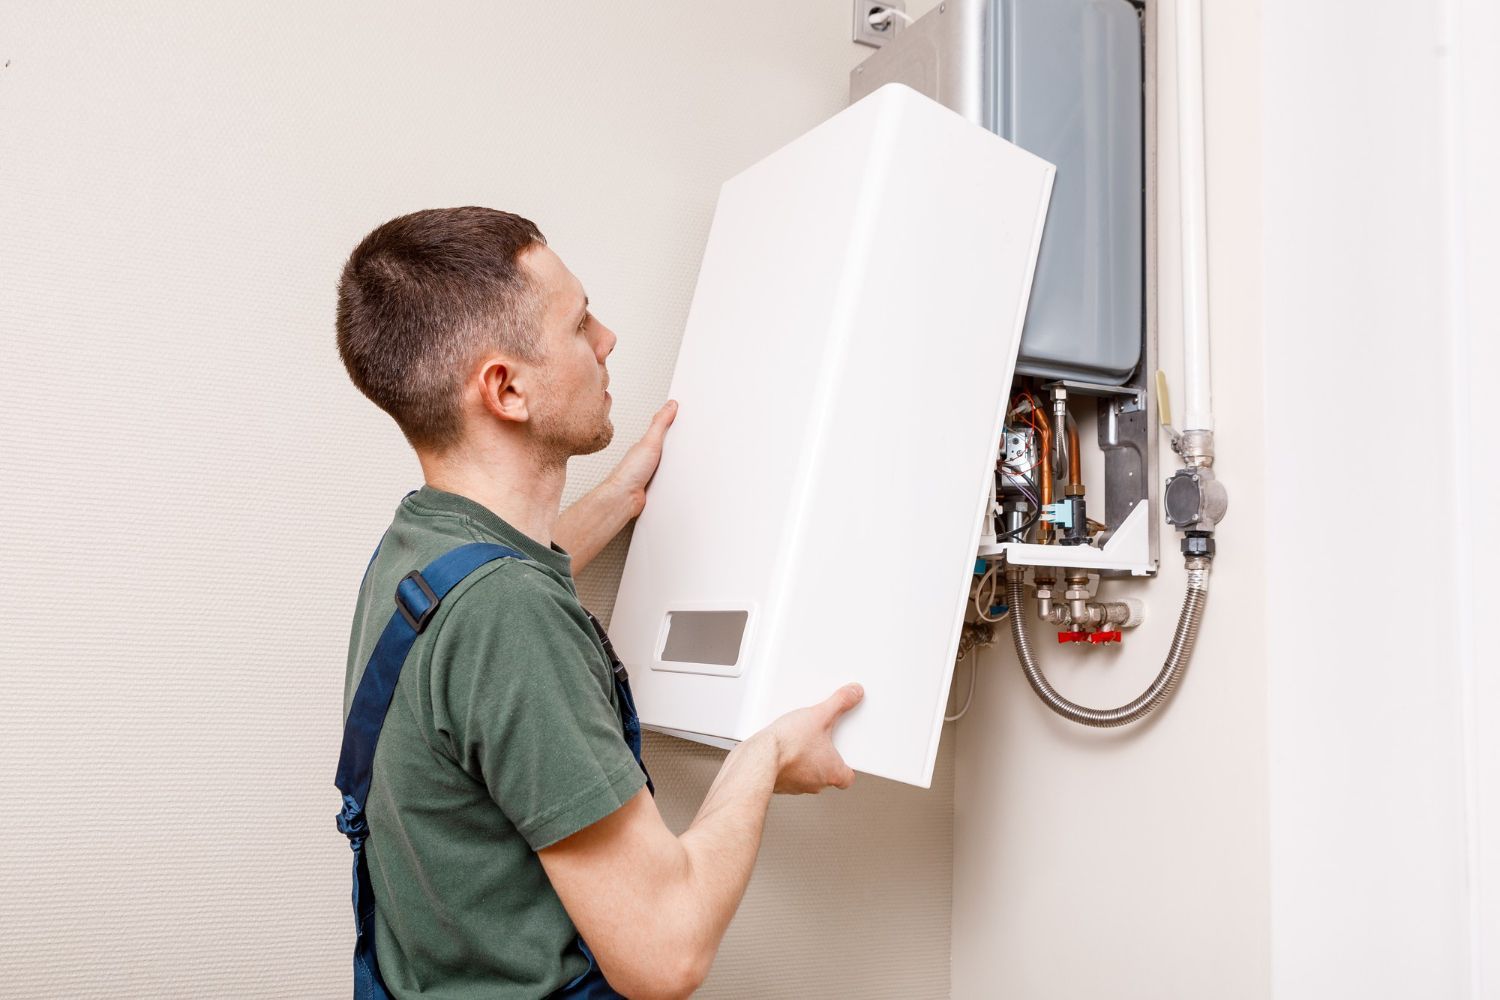
Installing a new garbage disposal system isn't as daunting a task as it appears. This blog aims to provide a simple, step-by-step guide to get you through the process smoothly. Our team at Willowbrook Plumbing & Heating has compiled this guide to ease you into the installation process. Still, we always advise hiring professional help to avoid major hassles or damage. Our technicians are also experts in hot water tank installation and furnace repair, so we can help with all your essential home systems.
Hence, here's what you'll need to do for a garbage disposal installation. But remember, for a seamless and professional installation, Contact today Willowbrook Plumbing & Heating.
Tools & Materials You’ll Need
- Screwdrivers (flat‑head & Phillips)
- Adjustable pliers or channel‑lock pliers
- Hack‑saw or tubing cutter (if drain‑pipe needs to be cut)
- Plumber’s putty
- Bucket (to catch water when disconnecting old drain)
- Wire nuts/cord kit (if disposal isn’t pre‑wired)
- Optional: safety glasses, work‑gloves
Garbage Disposal Installation Guide
To install a garbage disposal, first turn off the power and disconnect the old unit’s electrical and plumbing connections, then remove the old disposal. Next, install the new sink flange with plumber’s putty and mount the new disposal unit to the sink’s mounting ring. Finally, connect the drain pipes (including the dishwasher drain if applicable) and test for leaks.
Installing a garbage disposal can be a great DIY project. Follow these 7 easy steps to safely and effectively install your new disposal.
1. Turn Off Power and Water
Before starting, ensure that the power to the disposal unit is turned off. Unplug it from the electrical socket or switch off the circuit breaker. Shut off the water supply to avoid any leaks or flooding during installation. Place a bucket under the P-trap and detatch the dishwasher drain hose (if present), then unscrew the mounting ring and lif off the old disposal.
2. Remove the Old Disposal (If Replacing)
If you’re replacing an old garbage disposal, remove it by loosening the mounting screws. Carefully detach it from the sink and disconnect the drain lines and power connections. Make sure to dispose of the old unit properly.
3. Prepare the Sink Area
Ensure that the sink area is clean and clear of debris. Remove any existing plumbing attachments to make room for the new unit. If you're adding a new dishwasher line, ensure there’s a proper connection available.
4. Install the Mounting Ring
Roll a rope of plumber's putty and press it onto the underside of the new sink flange. Insert the flange into the sink drain and press it into place. From under the sink, gather the fiber gasket, backup flange, and mounting ring, and thread them onto the flange. Alternate tightening the mounting screws a few turns at a time until the assembly is evenly seated and creates a watertight seal.
5. Attach the Garbage Disposal
Lift the garbage disposal under the sink and align it with the mounting ring. Twist the disposal clockwise to lock it into place. Make sure it is securely fastened and level. Ensure the disposal outlet is aligned with the drain line.
6. Wire the Disposal
Connect the power cord to the disposal unit. If your unit requires hardwiring, follow the manufacturer’s instructions to wire it correctly, ensuring all connections are safe and secure.
7. Connect the Drain Lines and Dishwasher
Attach the drain lines to the disposal and ensure the connections are tight. If you have a dishwasher, connect the dishwasher drain hose to the appropriate port on the disposal. Tighten any connections to prevent leaks.
8. Test the Unit
Turn the water and power back on. Run water through the disposal to check for leaks, and turn the unit on to ensure it’s operating correctly. Insert the sink stopper and fill the sink with about an inch of water, remove the stopper and flush the water through the drain. Check the flange and mounting ring for leaks.
Garbage Disposal Installation Maintenance Tip
Run cold water for about 15 seconds before and after using the disposal to help ensure the waste is washed down properly and to keep the blades clean.
Garbage Disposal Unit Installation
Garbage disposal unit installation is a practical solution for managing kitchen waste efficiently. By installing a garbage disposal unit, homeowners can easily eliminate food scraps, reducing clutter and minimizing odors. This installation process typically involves connecting the unit to the sink and plumbing system, ensuring proper drainage and function. With a properly installed garbage disposal, daily kitchen clean-up becomes simpler and more streamlined.
Understanding Your New Garbage Disposal System
Before you start, it’s crucial to know and understand the parts of your new garbage disposal system. The inlet port, discharge tube, flange and mounting assembly are all essential parts that need to be installed correctly for everything to work as intended.
Think Safety
Before you start, remember to put safety first. This includes turning off the power to the circuit that will supply electricity to the disposal unit. It also includes wearing gloves and safety glasses as you handle the different components.
The Need for Professional Installation
While this guide gives you a basic idea of the process, it's important to remember that garbage disposal installation can be a complex task. You have to deal with electrical wiring and plumbing work, and if done incorrectly, it could lead to accidents, leaks, or breakdowns.
So why take a risk when you have professionals just a call away? Contact Willowbrook Plumbing & Heating today, where our courteous, qualified and experienced technicians are ready to provide you with expert garbage disposal installation services. We ensure safe, clean and efficient work that respects your home and satisfies your needs.
Contact Us